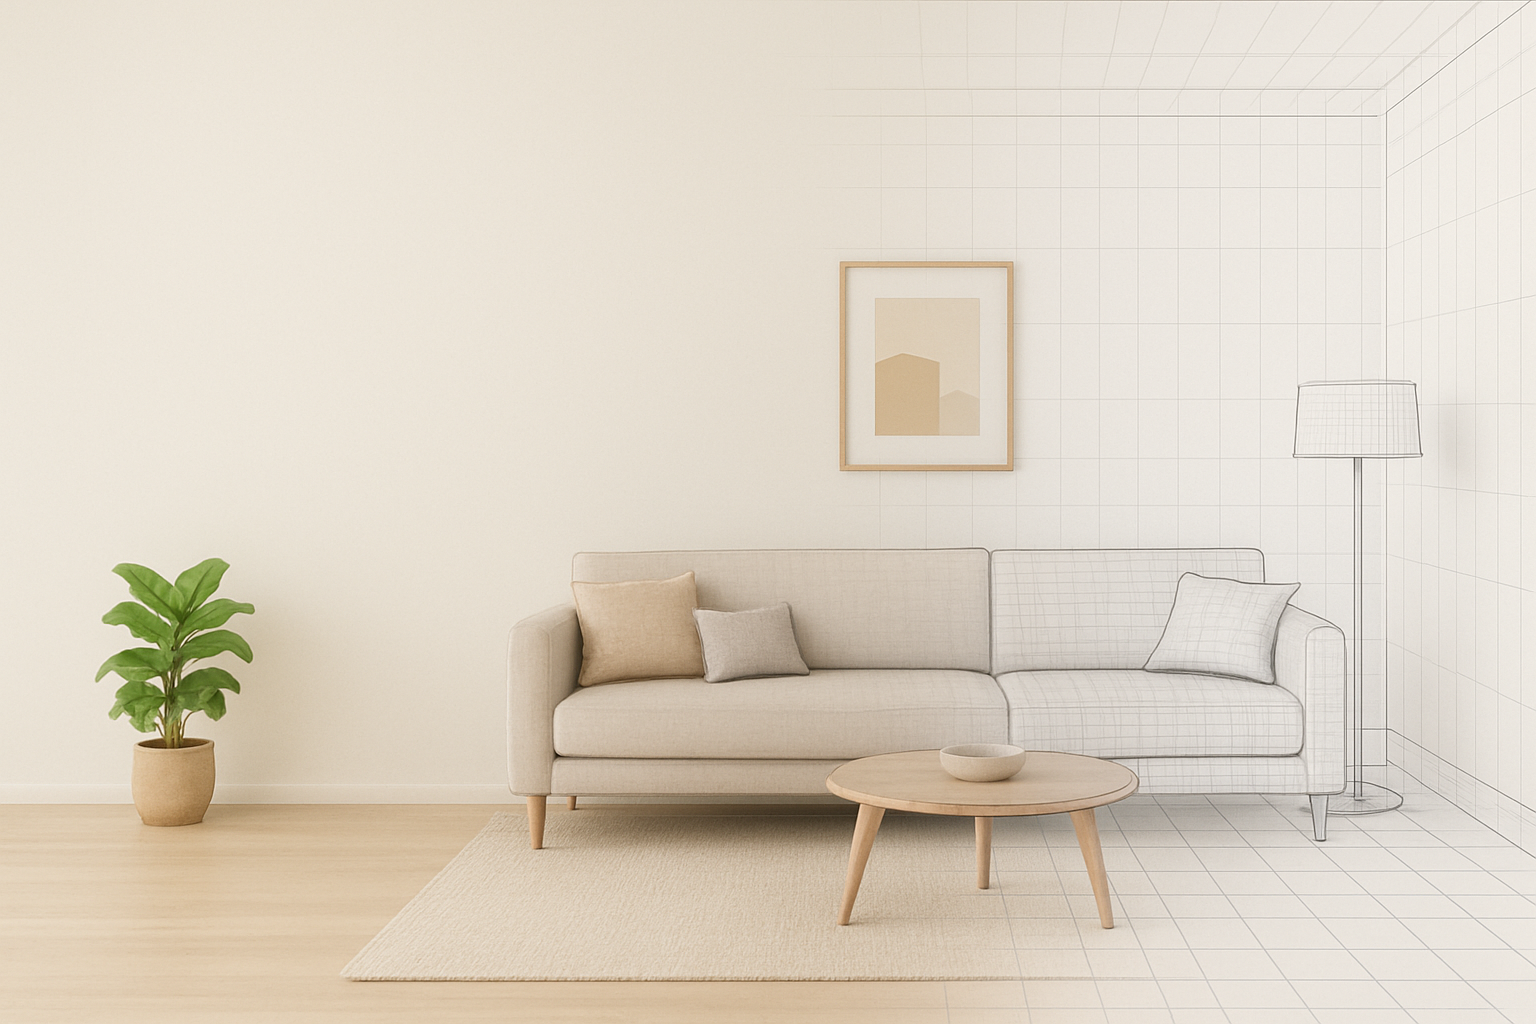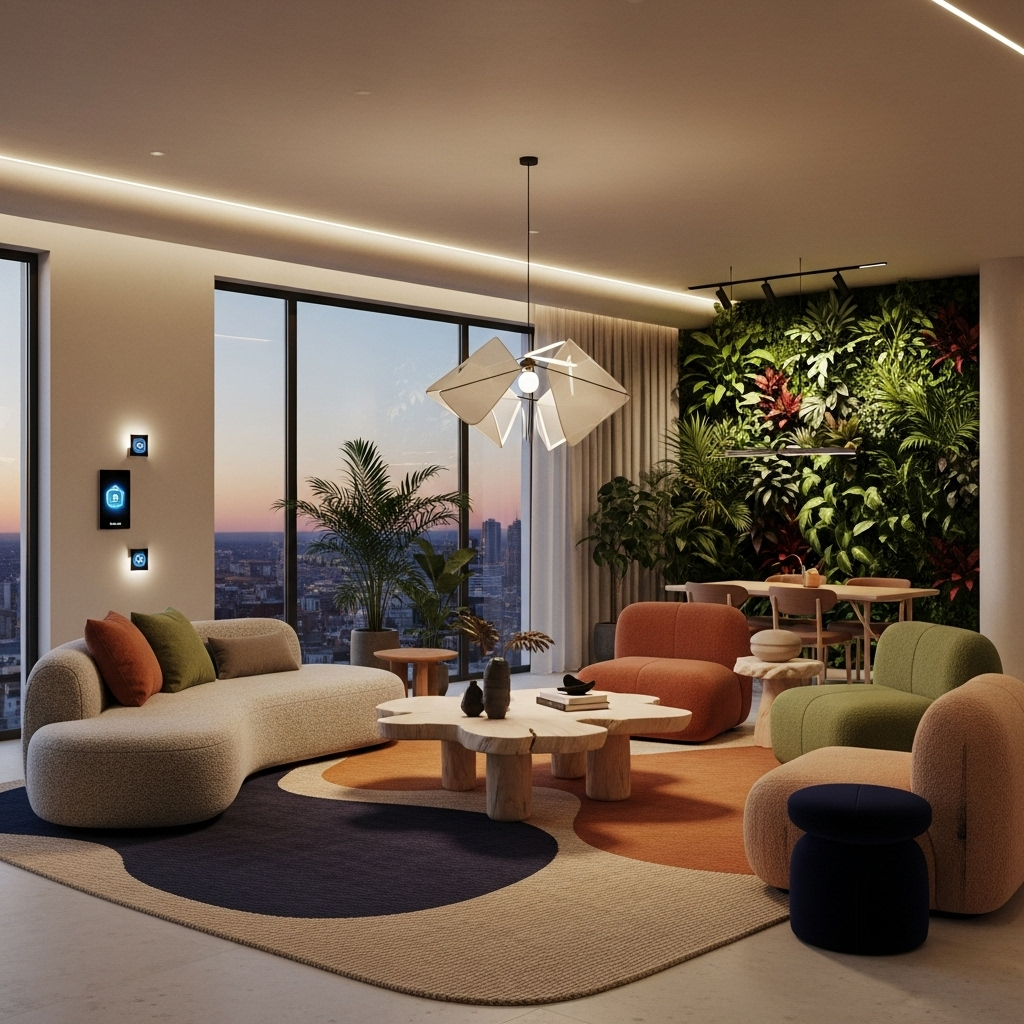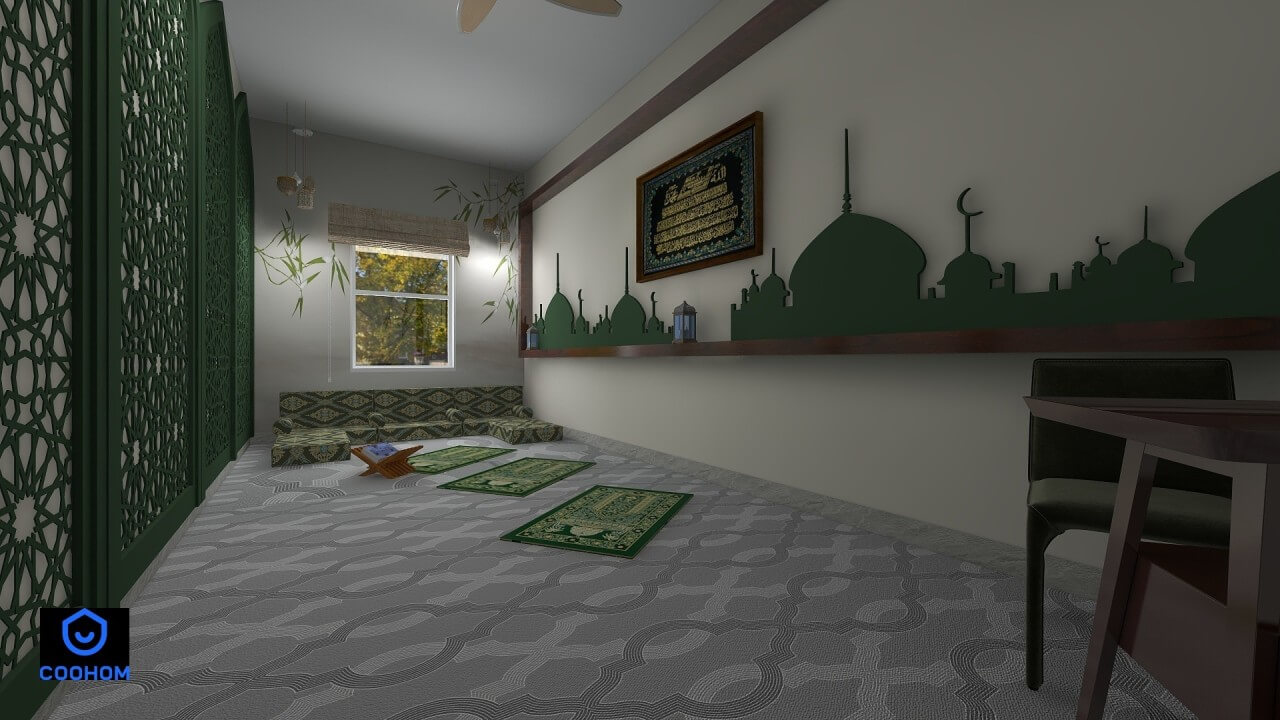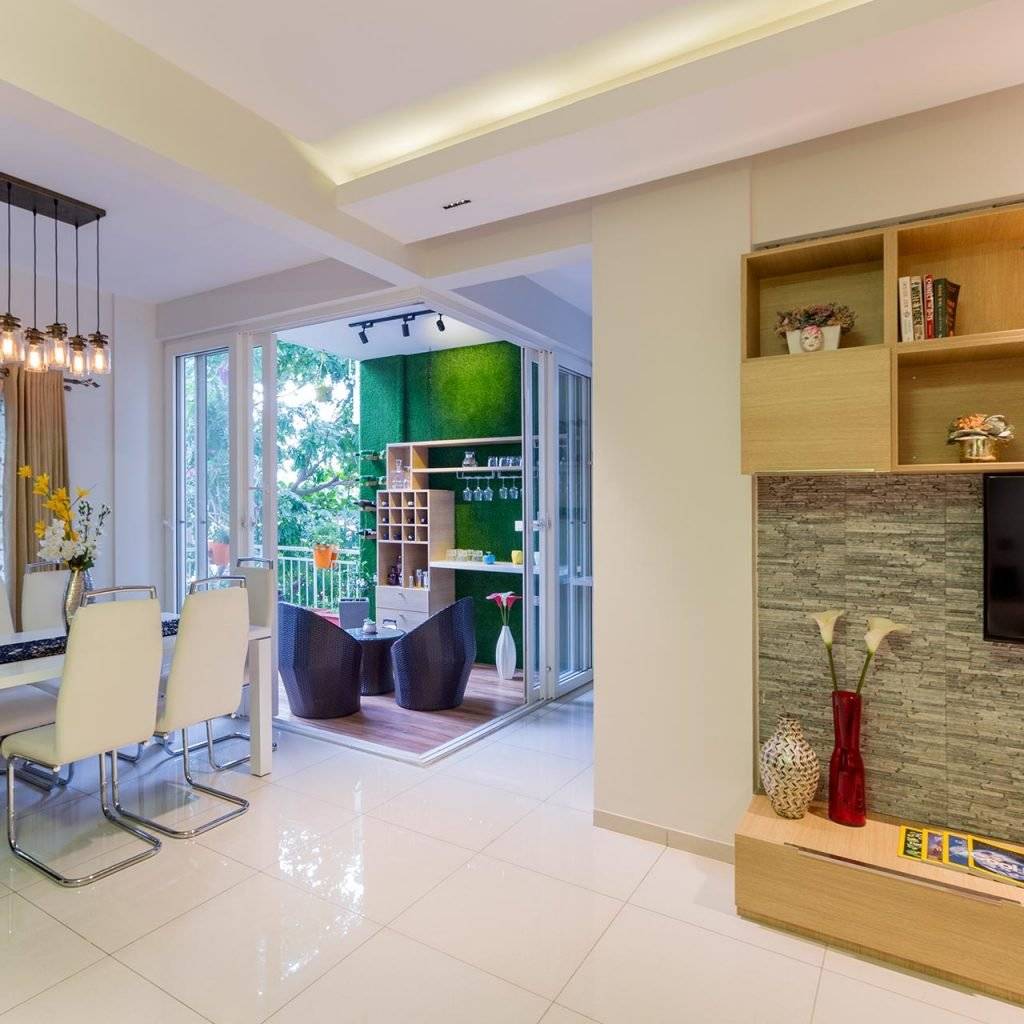
Coohom’s walkthrough video feature enables designers to animate the user’s path through a space with fluid motion, realistic lighting, and photo-realistic textures
In today’s digital design era, visual storytelling has become essential for interior designers, real estate agents, and architects alike. A 3D walkthrough video can bring any space to life, giving clients and viewers a fully immersive experience before a single piece of furniture is moved. Among the top tools making this possible is Coohom-a powerful cloud-based interior design platform.
Whether you’re showcasing a residential project, a commercial layout, or staging a home for virtual real estate tours, Coohom’s walkthrough video feature delivers professional-grade results in just a few clicks.
Coohom stands out with its:
- Real-time rendering engine
- Extensive 3D furniture library
- Drag-and-drop simplicity
- Professional-quality outputs
- Its walkthrough video feature enables designers to animate the user’s path through a space with fluid motion, realistic lighting, and photo-realistic textures.
Step-by-Step: Creating Your Walkthrough Video
1. Start with Your Floor Plan
Before diving into video creation, design your layout in 2D or 3D using Coohom’s intuitive editor. Upload your custom floor plan or create one from scratch using the drag-and-drop tools.
2. Furnish and Style the Space
Utilize Coohom’s vast model library to decorate each room. From modern to classic, you’ll find thousands of furniture models, decor items, lighting options, and materials to set the tone and mood.
3. Set the Camera Path
Switch to the Walkthrough mode. This is where the magic happens:
Click to set your starting point.
Add waypoints to guide the camera smoothly through the desired route.
Adjust camera angles, elevation, and field of view to highlight key features like open kitchens, scenic windows, or custom cabinetry.
4. Adjust Lighting and Time of Day Coohom allows you to simulate real-world lighting by setting the time of day, adjusting sun position, and using artificial lights. This step can make your walkthrough feel dramatically more immersive and polished.
5. Preview the Walkthrough Before rendering, preview the entire path.
Fine-tune any transitions, angles, or awkward movements for a seamless and engaging flow.
6. Render the Walkthrough Video Choose your resolution (720p, 1080p, or 4K), select the rendering quality, and let Coohom process the video. Depending on your settings, rendering may take a few minutes to complete.
7. Download and Share
Once rendered, you can download the video or share it directly from Coohom’s platform. Use it for client presentations, social media, websites, or listings.
Pro Tips for a Truly Stunning Walkthrough
Keep it smooth: Avoid sharp turns or erratic camera movement.
Highlight focal points: Spend an extra second on standout features-artwork, large windows, or signature furniture.
Use music or narration: Add background music or a voiceover using a video editor post-render for an even more professional touch.
Optimize lighting: Lighting sets the mood; a well-lit space looks more inviting and realistic.
Final Thoughts
Creating a walkthrough video used to require advanced 3D modeling knowledge or expensive rendering software. With Coohom, anyone-from solo designers to real estate teams-can now produce stunning, cinematic walkthroughs that impress clients and elevate presentations.
Whether you’re pitching to a client or marketing a property, a Coohom walkthrough video isn’t just a feature-it’s your competitive edge.